

I love creating my sons' room and making things to inspire them. I want to fill their space with handmade love. I made these ABC paintings for them.
If you don't think of yourself as artistic, that's okay. You can create artwork for your child's room easily. This is a simple way to create a painting. Basically, you are going to make your own paint-by-number stencil and paint it. It’s easy. You can do it! It's simple and inexpensive. Here we go...
If you don't think of yourself as artistic, that's okay. You can create artwork for your child's room easily. This is a simple way to create a painting. Basically, you are going to make your own paint-by-number stencil and paint it. It’s easy. You can do it! It's simple and inexpensive. Here we go...
Supplies:
- Three canvases. I used 10 x 10” square canvases.
- Acrylic paint, colors of your choice.
- Acrylic latex sealer (Liquitex makes a good one)
- Paintbrush
- Computer and printer
- Paper, preferably heavy stock paper, as you will be making stencils out of your images.
Decide what images you want to represent A, B, and C.
What does your child enjoy? What kind of images do you want to surround your child? My 2 ½ year-old son is drawn to things that go. So, I created Airplane, Bicycle, Car.
Here are some more thoughts and suggestions:
- Food: A for apple, B for banana, blueberry, C for carrot, coconut?
- Animals: A for alligator, ape, B for bear, butterfly, C for cat, crow?
- Flowers: A for apple blossom, B for bluebonnet, C for coneflower?
- The Four Elements--Plant, human, animal, mineral: A for apple, B for boy, C for cat, D for diamond?
- Things that Go: A for airplane, B for bicycle or boat, C for car?
- Music: A for accordion, B for bass, banjo, bongos, bugle, bagpipes, C for cello
- Insects: A for ant, B for Bee or beetle, C for cricket, or caterpillar
Find your images.
Once you’ve decided on the images you’d like to paint, get on line and do a Google image search (click “image” on the top or left-hand side of the Google search page, then type in your search). For car, I decided I wanted the iconic Volkswagen Beetle, so I searched "Volkswagen Beetle". I looked through the images until I found one that I liked. This is what I found:

Once you’ve saved the image, open it in whichever program you like to resize, such as Paint or Adobe Photoshop. Then print your image. I found that I needed to print my car and place it on my canvas to make sure it was the size I wanted. I enlarged it a second time to get it the size I wanted. (If you have any questions about this step, please place a comment. I'm happy to explain this in more detail if you'd like.)
Print out your letters.
Open a Word Document. Write A B C in capital letters. Highlight the letters and then go to the font bar at the top of the page. Font options will drop down. Choose different fonts until you find one that you like. Fonts like Georgia (ABC), Algerian (ABC), and Cooper (ABC) work well because they have flourishes on the ends, as well as some girth, whereas Arial (ABC) does not. When you find the font you like, change the font size to a very large one. I used a 400 pt. font. The size of font you want to use will be dependent on your font type and size of canvas. Now print your letters.
Make your stencils.
Cut around your letters and images that you printed, so that you have them as stencils which you can trace. (My images here are curling on the edges. Cut yours out of cardstock; they won’t curl and will be easier to trace.)

Paint your canvases.
Buy three identical canvases; I bought 10 x 10” squares because I like the look of those even dimensions. Paint them each different colors. Let them dry. (This is actually a good time to make your stencils, as outlined above).
I highly recommend buying nicer canvases at art stores or stretching your own canvas, so the canvas is stapled on the backside of the canvas rather than on the edges, like they do on cheap canvases. This allows you to extend your painting onto the edges and not frame your paintings. (If you would like a tutorial on how to stretch your own canvas, let me know. I've done it for other paintings, but not these. I'd be happy to show you.)
However, I will admit to you, I use cheap, acrylic paints, such as these.

Stencil your letters.
Now place your letters on your canvases, measuring one inch down from the top and one inch from the left side of the canvas. Hold your letter stencil in place and carefully trace around it in pencil.
Stencil your image.
Place your image on your canvas and trace around it.

Now look at your image. You are going to begin cutting each section out and tracing around what you have cut.
On my car, I see that the next part of the image I want to outline is the wheels. I cut out the wheels. Then I trace around the part of the stencil I have left.


Then, I cut out the next section of the stenciled image and I trace around that part. It is the front windows, the bumper, and behind the back wheel.

Continue cutting each section out and tracing it. You can see the progression of my drawing in these pictures.

Here I cut out the side sections and then the headlights. (Sorry for the blur)

Finally, you will get each part of your image drawn in pencil on your canvas.
Paint your image.
Paint one section at a time. First I paint my letter a single color of green.

Then I use a white to highlight my letter. I paint the white in a thin line on the top and right sides of my letter ‘C’. I also paint a few sections of my car in light and medium green. (I messed up the back right window, painting more than I want. Later I fix this by painting the background brown over it).

Next, I paint the white/grey sections of my car: headlights, bumper and the lighter sections of the top.

Then I paint the hood and the black tires.

Next, I paint the fenders and add the license plate.

I paint the inner sections of the tires.

Then I look at the doors of the car. They are a main part that transitions from light to dark. So, I go over my first coat of paint and add dark at the top and left side.

Then I add the steering wheel and hubcaps.

Paint a coordinating design around your image.
Whatever your image, choose a coordinating background image to complement it. For the airplane, I chose clouds, for the bicycle, I chose a gear, for the car, a road. Give your image a background that makes sense. Use the same technique we used above for creating a stencil from an online image or your own photograph.

Here I just freehanded the road, but I found an image for the gear for the B painting.
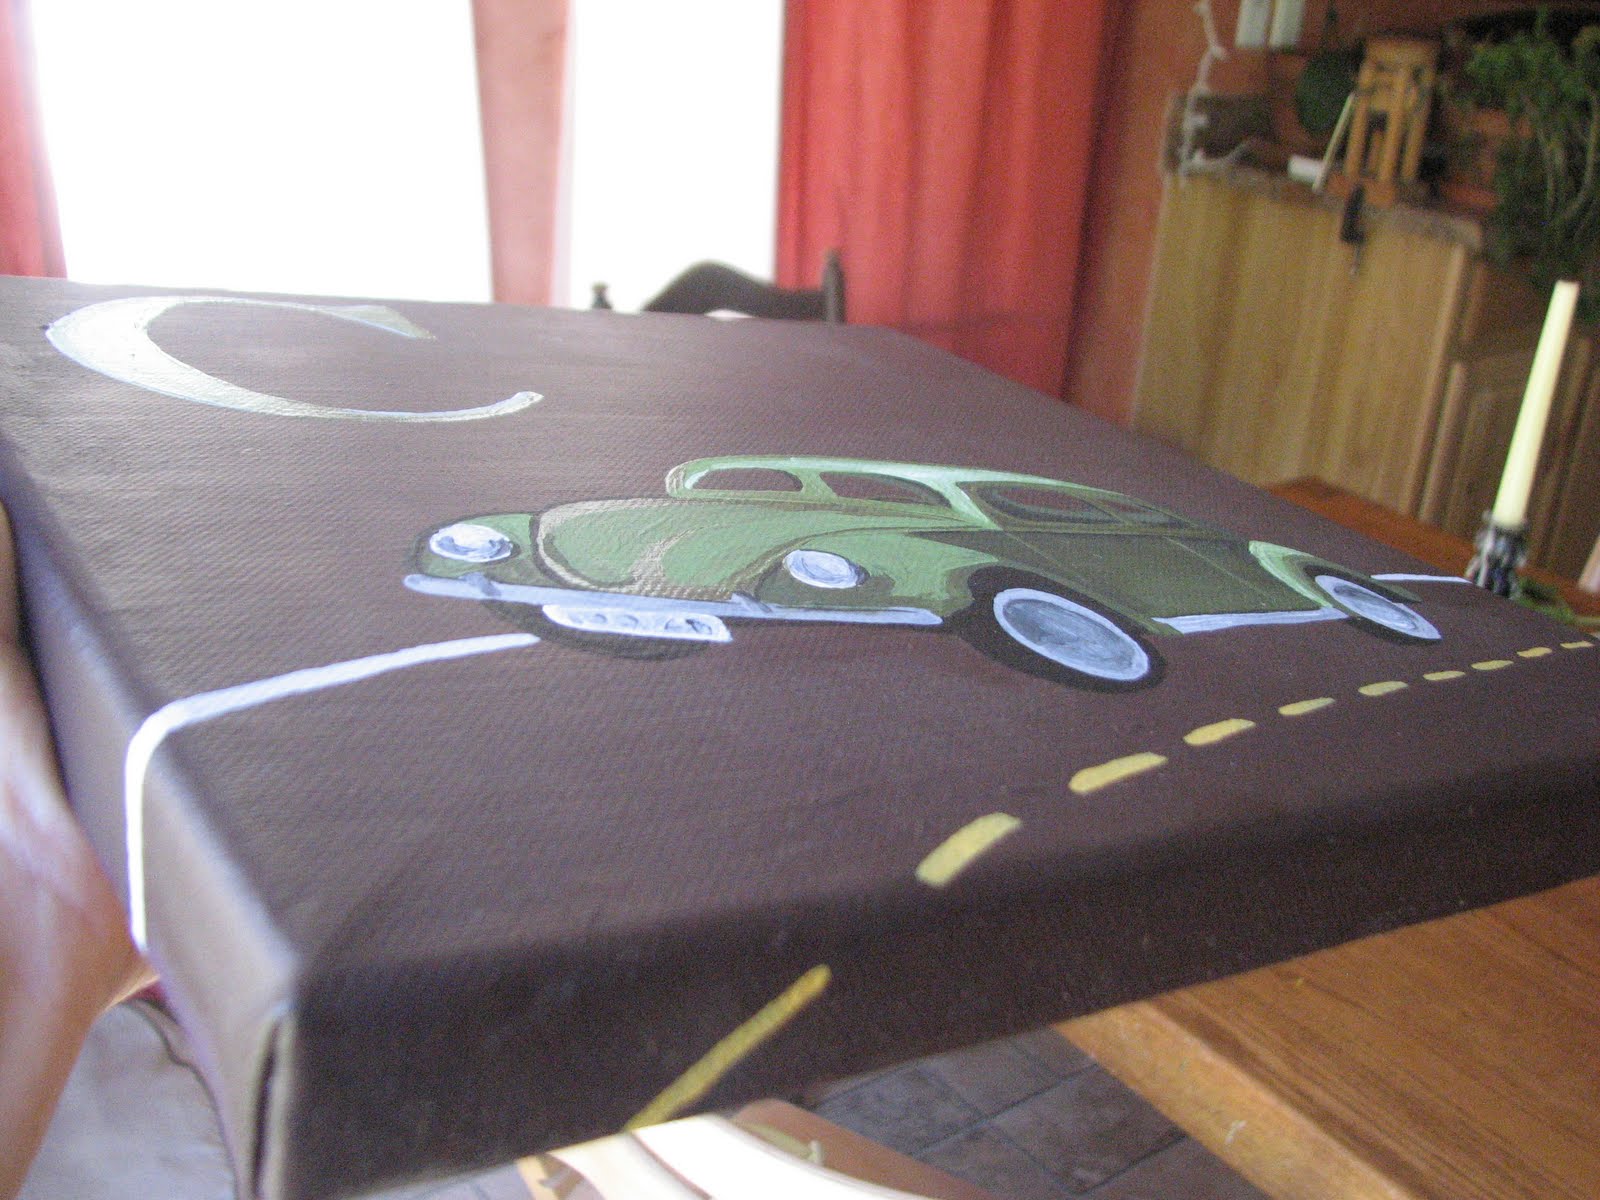
Here you can see how I wrap the road around the sides and bottom of the painting.

I wrap the gears around the sides of this painting also. Here you can see how poorly it looks to use a cheap canvas where the canvas has been stapled along the sides. I don’t recommend using this kind. I wish I had gotten better canvases to begin with.
Seal image with acrylic sealer.
Acrylic paints, especially cheap ones, are all different luster. They dry flat. Use an acrylic sealing varnish to add luster and hold in the brightness. Use the directions on your acrylic sealer bottle. I used a ModPodge spray varnish. I do NOT recommend using it because it was so toxic. I didn’t want to breathe while using it and I certainly didn’t want to bring it into my sons’ room afterwards. I let it off-gas in the garage for a couple days. If you have an art store near you, please go find something better.
Hang and Enjoy.
Hang your homemade artwork in your child’s room. Enjoy the color, image and care that you created for your child and your home.

Beautiful Meg!! Your boys are lucky to have such a creative mama!
ReplyDelete-Sam
dig it!
ReplyDeleteAwesome craft and awesome tutorial!!! I really love how you did that stencil. Genius!
ReplyDeleteCarrie
These are fantastic!
ReplyDeleteI love that VW. Too cute.